Java APIs
MetaSensors are supported on Android. Developers can create their own Android Apps using Java.
Here is a tutorial to install our Java APIs and Android Studio on Windows.
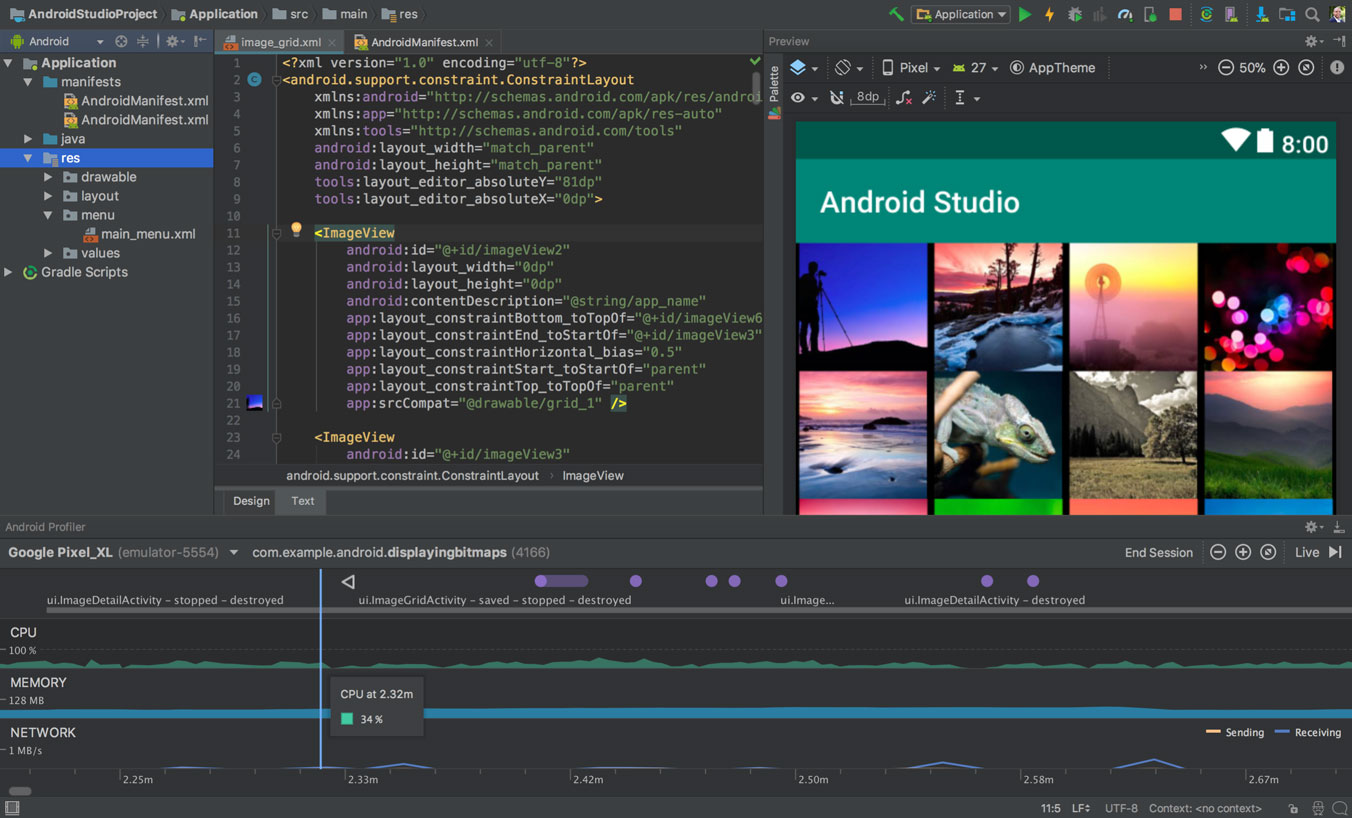
We will be using Android Studio so you should be comfortable with this IDE. You should be familiar with the Java language and know how to deploy Apps before starting the Android Java tutorials.
Note
This is the only API that does not rely on the C++ library.
Warning
We have NOT tested Android Studio with our APIs on Linux or MAC.
Source Code
You can find the Java code on Github here: https://github.com/mbientlab/MetaWear-SDK-Android.
Java Tutorials
You can find tutorials to use the Java libs here: https://mbientlab.com/androiddocs/latest.
Java API Documentation
The Java API calls are documented here: https://mbientlab.com/documents/metawear/android/latest/.
Installation
You will need to consider the following before starting the installation:
Make sure your OS and supporting tools are up to date.
Make sure your Android test device (such as an Samsung tablet or Google Pixel) supports Bluetooth4.0+
Make sure your Android device is running at least Android 4.3+ (numerous bug fixes in 4.4+)
Android Studio
If you are new to Android development, download the latest version of Android Studio and enable debugging over USB on your Android device.
To install Android Studio on Windows, proceed as follows:
If you downloaded an
.exefile (recommended), double-click to launch it.If you downloaded a
.zipfile, unpack the ZIP, copy the android-studio folder into your Program Files folder, and then open theandroid-studio > bin folderand launchstudio64.exe(for 64-bit machines) orstudio.exe(for 32-bit machines).Follow the setup wizard in Android Studio and install any SDK packages that it recommends.
That’s it. The following video shows each step of the setup procedure when using the recommended .exe download.
As new tools and other APIs become available, Android Studio tells you with a pop-up, or you can check for updates by clicking Help > Check for Update.
Note
Java is installed with Android Studio
Dependencies
Please checkout the latest from the Android developer site regarding Bluetooth Low Energy support: https://developer.android.com/guide/topics/connectivity/bluetooth-le
A minimum of Android 4.3 (SDK 18) is required to use this library, however for the best results, it is recommended that users be on Android 4.4 (SDK 19) or higher.
Also please check your hardware, some Android phone and tablets do NOT support Bluetooth Low Energy or may do so, but not reliably. There is lots of device variation across Android tablets. Not all of them come with Bluetooth Low Energy so it’s important to check.
Most phones that were made in the pre Ice Cream Sandwich Android era offered minimal or no BLE support. For example, the Galaxy S3 does not support BLE. Save yourself a headache and develop your Android App on a reliable new BLE compliant smartphone.
Developer Program
Google provides a great tutorial to publish, manage, and distribute your app worldwide: https://developer.android.com/distribute/best-practices/launch
MetaWear
You need to add MetaWear to your compile dependencies.
To add the library to your project, first, update the repositories closure to include the MbientLab Ivy Repo in the project’s
build.gradle file.
repositories {
    ivy {
        url "https://mbientlab.com/releases/ivyrep"
        layout "gradle"
    }
}
Then, add the compile element to the dependencies closure in the module’s build.gradle file.
dependencies {
    compile 'com.mbientlab:metawear:3.4.0'
}
If you are using SDK v3.3 or newer, you will need to enable Java 8 feature support the module’s build.gradle file.
API Code Repository
Head over to our Java Github page: https://github.com/mbientlab/MetaWear-SDK-Android
You can clone the repository or simply download as a ZIP file:
>>> git clone https://github.com/mbientlab/MetaWear-SDK-Android.git
Usage
Once your project has synced with the updated Gradle files, declare the MetaWear Bluetooth LE service in the module’s AndroidManifest.xml file.
<application
    android:allowBackup="true"
    android:icon="@drawable/ic_launcher"
    android:label="@string/app_name"
    android:theme="@style/AppTheme" >

    <service android:name="com.mbientlab.metawear.android.BtleService" />
    <!-- Other application info below i.e. activity definitions -->
</application>
Lastly, bind the service in your application and retrain a reference to the service’s LocalBinder class. This can be done in any activity or fragment that needs access to a MetaWearBoard object.
import android.app.Activity;
import android.content.*;
import android.os.Bundle;
import android.os.IBinder;

import com.mbientlab.metawear.android.BtleService;

public class ExampleActivity extends Activity implements ServiceConnection {
    private BtleService.LocalBinder serviceBinder;

    @Override
    protected void onCreate(Bundle savedInstanceState) {
        super.onCreate(savedInstanceState);
        setContentView(R.layout.activity_main);

        ///< Bind the service when the activity is created
        getApplicationContext().bindService(new Intent(this, BtleService.class),
                this, Context.BIND_AUTO_CREATE);
    }

    @Override
    public void onDestroy() {
        super.onDestroy();

        ///< Unbind the service when the activity is destroyed
        getApplicationContext().unbindService(this);
    }

    @Override
    public void onServiceConnected(ComponentName name, IBinder service) {
        ///< Typecast the binder to the service's LocalBinder class
        serviceBinder = (BtleService.LocalBinder) service;
    }

    @Override
    public void onServiceDisconnected(ComponentName componentName) { }
}
Template App
For those who want to build a simple MetaWear app or are new to Android development, we have provided a template for creating MetaWear apps which we will be using in this guide.
Download the Android template.
Import the project into Android Studio. All the code on this page will be added to the starter module.
Modules
MetaWear modules are sensors or peripherals that are on the board. Modules are represented by the Module interface and you retrieve references to them with the getModule function. The function may return null if the module is unsupported however all MetaWear boards have an accelerometer so we can safely assume the return value is non-null in this example.
In the onServiceConnected function, retrieve a reference to the Accelerometer module and configure the sensor.
private Accelerometer accelerometer;

@Override
public void onServiceConnected(ComponentName name, IBinder service) {
    metawear = ((BtleService.LocalBinder) service).getMetaWearBoard(settings.getBtDevice());

    accelerometer= metawear.getModule(Accelerometer.class);
    accelerometer.configure()
           .odr(25f)       // Set sampling frequency to 25Hz, or closest valid ODR
           .commit();
}
UI Elements
Next, add a start and stop button to the fragment layout defined in the fragment_device_setup.xml file.
<Button android:layout_width="wrap_content" android:layout_height="wrap_content"
    android:text="Start" android:id="@+id/acc_start"
    android:layout_alignParentTop="true"
    android:layout_alignParentStart="true"
    android:layout_alignParentEnd="true" />

<Button android:layout_width="wrap_content" android:layout_height="wrap_content"
    android:text="Stop" android:id="@+id/acc_stop"
    android:layout_below="@+id/acc_start"
    android:layout_alignParentStart="true"
    android:layout_alignParentEnd="true" />
Data Stream
Switching back to the DeviceSetupActivityFragment class, override the onViewCreated function to add listeners for the start and stop buttons. The start button will setup a data route, subscribe to the data stream, and start the sensor. The stop button will stop the sensor and remove the data route.
@Override
public void onViewCreated(View view, Bundle savedInstanceState) {
    super.onViewCreated(view, savedInstanceState);

    view.findViewById(R.id.acc_start).setOnClickListener(new View.OnClickListener() {
        @Override
        public void onClick(View v) {
            accelerometer.acceleration().addRouteAsync(new RouteBuilder() {
                @Override
                public void configure(RouteElement source) {
                    source.stream(new Subscriber() {
                        @Override
                        public void apply(Data data, Object... env) {
                            Log.i("MainActivity", data.value(Acceleration.class).toString());
                        }
                    });
                }
            }).continueWith(new Continuation<Route, Void>() {
                @Override
                    public Void then(Task<Route> task) throws Exception {
                        accelerometer.acceleration().start();
                        accelerometer.start();
                        return null;
                    }
            });
        }
    });
    view.findViewById(R.id.acc_stop).setOnClickListener(new View.OnClickListener() {
        @Override
        public void onClick(View v) {
            accelerometer.stop();
            accelerometer.acceleration().stop();
            metawear.tearDown();
        }
    });
}
Test the App
Load the app onto your Android device and connect to your board. Press the start button to see the acceleration data in Logcat.
This tutorial will take you through your first Java App.
Freefall App
The free fall tutorial showcases advanced features of the MetaWear by using the on-board data processing to convert raw accelerometer data into a free fall metric. We will be building the app from scratch following the instructions outlined in the Android SDK documentation.
Source code for this tutorial is available on GitHub.
Project Setup
We kick off the free fall tutorial by showing you how to setup your project to use the MetaWear Android SDK.
Accelerometer Data Stream
Part C sets up a data stream of accelerometer sending live data from the sensor to your mobile device.
Data Processor
Part D utilizes the firmware data processor to manipulate the raw acceleration data on-board. By using the on-board data procesor, you can perform simple computations on the data without having to transmit the raw data.
On-Board Logging
In the last segment of this tutorial, we use the logger to record when the free fall events happened, and download the data at a later time.
For a deeper dive into the Android SDK, checkout the documentation page for links to additional information about the MetaWear SDKs.
Event Handling
Say you want your MetaWear to react to different events, for example, turn on the LED when the switch is pressed and turn off the LED by tapping the board. This is easily accomplished in a data route using the stream component however, it requires that the board remains connected to your Android device at all times. Using the react component, we can instead program the board to respond to these events offline thus removing the need for an external app to handle the events for us.
Route Setup
Before we go around adding react components in our data route, first, lets create the route that uses the Android device to manage events.
metawear.getModule(Switch.class).state().addRouteAsync(new RouteBuilder() {
    @Override
    public void configure(RouteComponent source) {
        source.stream(new Subscriber() {
            @Override
            public void apply(Data data, Object... env) {
                if (data.value(Boolean.class)) {
                    led.editPattern(Led.Color.BLUE, Led.PatternPreset.SOLID).commit();
                    led.play();
                }
            }
        });
    }
}).onSuccessTask(new Continuation<Route, Task<Route>>() {
    @Override
    public Task<Route> then(Task<Route> task) throws Exception {
        return accBosch.tap().addRouteAsync(new RouteBuilder() {
            @Override
            public void configure(RouteComponent source) {
                source.stream(new Subscriber() {
                    @Override
                    public void apply(Data data, Object... env) {
                        led.stop(true);
                    }
                });
            }
        });
    }
});
From here, replace the stream components with react components. For brevity, only the route functions are in the code snippets with the first route corresponding to the switch data.
// Switch reaction route
source.react(new RouteComponent.Action() {
    @Override
    public void execute(DataToken token) {
        led.editPattern(Led.Color.BLUE, Led.PatternPreset.SOLID).commit();
        led.play();
    }
});

// Tap reaction route
source.react(new RouteComponent.Action() {
    @Override
    public void execute(DataToken token) {
        led.stop(true);
    }
});
As you may have noticed, the if statement from the streaming route is not present in the reaction route. This is because only MetaWear commands can be used inside a reaction, that is, no Java language constructs like loops and no functions that reside outside of the MetaWear SDK. The commands wrapped by the execute method are run whenever there is new data or activity from its input source, meaning our reaction based route actually turns on the LED whenever the button state changes i.e. when both a press and release are detected.
To remedy this small bug, we will insert a data processing component in between the switch source and reaction so that only button presses are reacted upon. In this case, we use the comparator filter to check for switch values not equal to 0 (1 = pressed, 0 = released).
Our data route now looks as follows:
metawear.getModule(Switch.class).state().addRouteAsync(new RouteBuilder() {
    @Override
    public void configure(RouteComponent source) {
        source.filter(Comparison.NEQ, 0).react(new RouteComponent.Action() {
            @Override
            public void execute(DataToken token) {
                led.editPattern(Led.Color.BLUE, Led.PatternPreset.SOLID).commit();
                led.play();
            }
        });
    }
}).onSuccessTask(new Continuation<Route, Task<Route>>() {
    @Override
    public Task<Route> then(Task<Route> task) throws Exception {
        return accBosch.tap().addRouteAsync(new RouteBuilder() {
            @Override
            public void configure(RouteComponent source) {
                source.react(new RouteComponent.Action() {
                    @Override
                    public void execute(DataToken token) {
                        led.stop(true);
                    }
                });
            }
        });
    }
});
Cleanup
The MetaWear firmware only has limited resources available for reaction commands and data processing. Before you disconnect from the board or reload the app, remember to remove the routes that were created by calling Route interface’s remove function on the Route objects returned by addRouteAsync.
Multiple MW App
For an example of how to use multiple metwears in Android, checkout the Multiple MetaWear example.
Sensor Fusion App
For an example of how to use sensor fusion in Android, check out the Sensor Fusion example.
MetaWear App
Check out the MetaWear example. It is a full App that can stream and graph sensor data in real time among other things.
MetaBase App
Check out the MetaBase example. It is the Android App on the store available for all users.
Next steps
Advanced developers building more complex apps can refer to the Android Documentation.